Photography Tutorial – Ballaglass Glen.
The Glen is one of my favourite spots for a walk on the Island, and with a river running straight through its very scenic.
I wanted to capture a photo of the glen with moving water so will walk you through the process that I used.
Equipment: To capture this photo I used a Nikon D800 with a 24-70 Nikor lens and a 10 Stop ND filter. I also had a tripod.
Method: Location location location. To take a photo like this you need a good location, I tend to favour a ledge rather than putting the tripod into the water which can cause problems with longer shutter speeds. I also like to get down quite low to the water but please keep a lens cloth handy to catch any splashes on your lens.
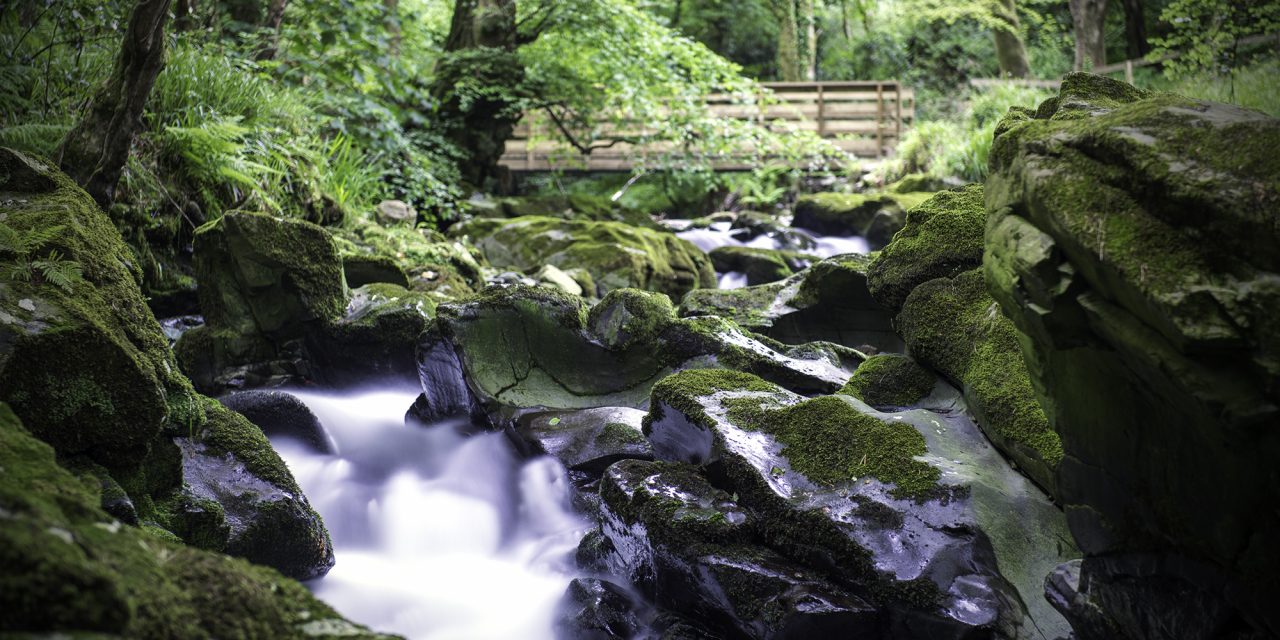
For this photo I found a place just below the footbridge and was happy that I could setup my Camera safely for a long shutter speed shot.
To use a 10 Stop Filter the process is pretty easy but can be confusing the first few times. You need to have your camera in Manual mode. Frame your shot and choose your focus point. Use your auto-focus to make sure it’s focused correctly and set the correct Aperture. At this point, change your shutter to timer (or use a remote shutter switch) and set your focus to manual. Your shot is now ready. Very very carefully screw the Filter onto the end of your camera lens, in situ, trying not to move anything.
Fire a test shot and see how it looks on the LCD. It will probably be too dark, so start to moving up through shutter speeds until it is light. If your camera has a little tantrum and wont let you take the photo, it’s because you haven’t set the focus to manual and it’s trying to auto-focus (which it probably cant).
For the above image I used the below:
Settings:
Shutter Speed: 30 seconds
Aperture: F/9.0
Focal Lenght: 70mm
Camera: Nikon D800
ISO: 100

Recent Comments